PULSAR RESHADE BY THERMALPASTE
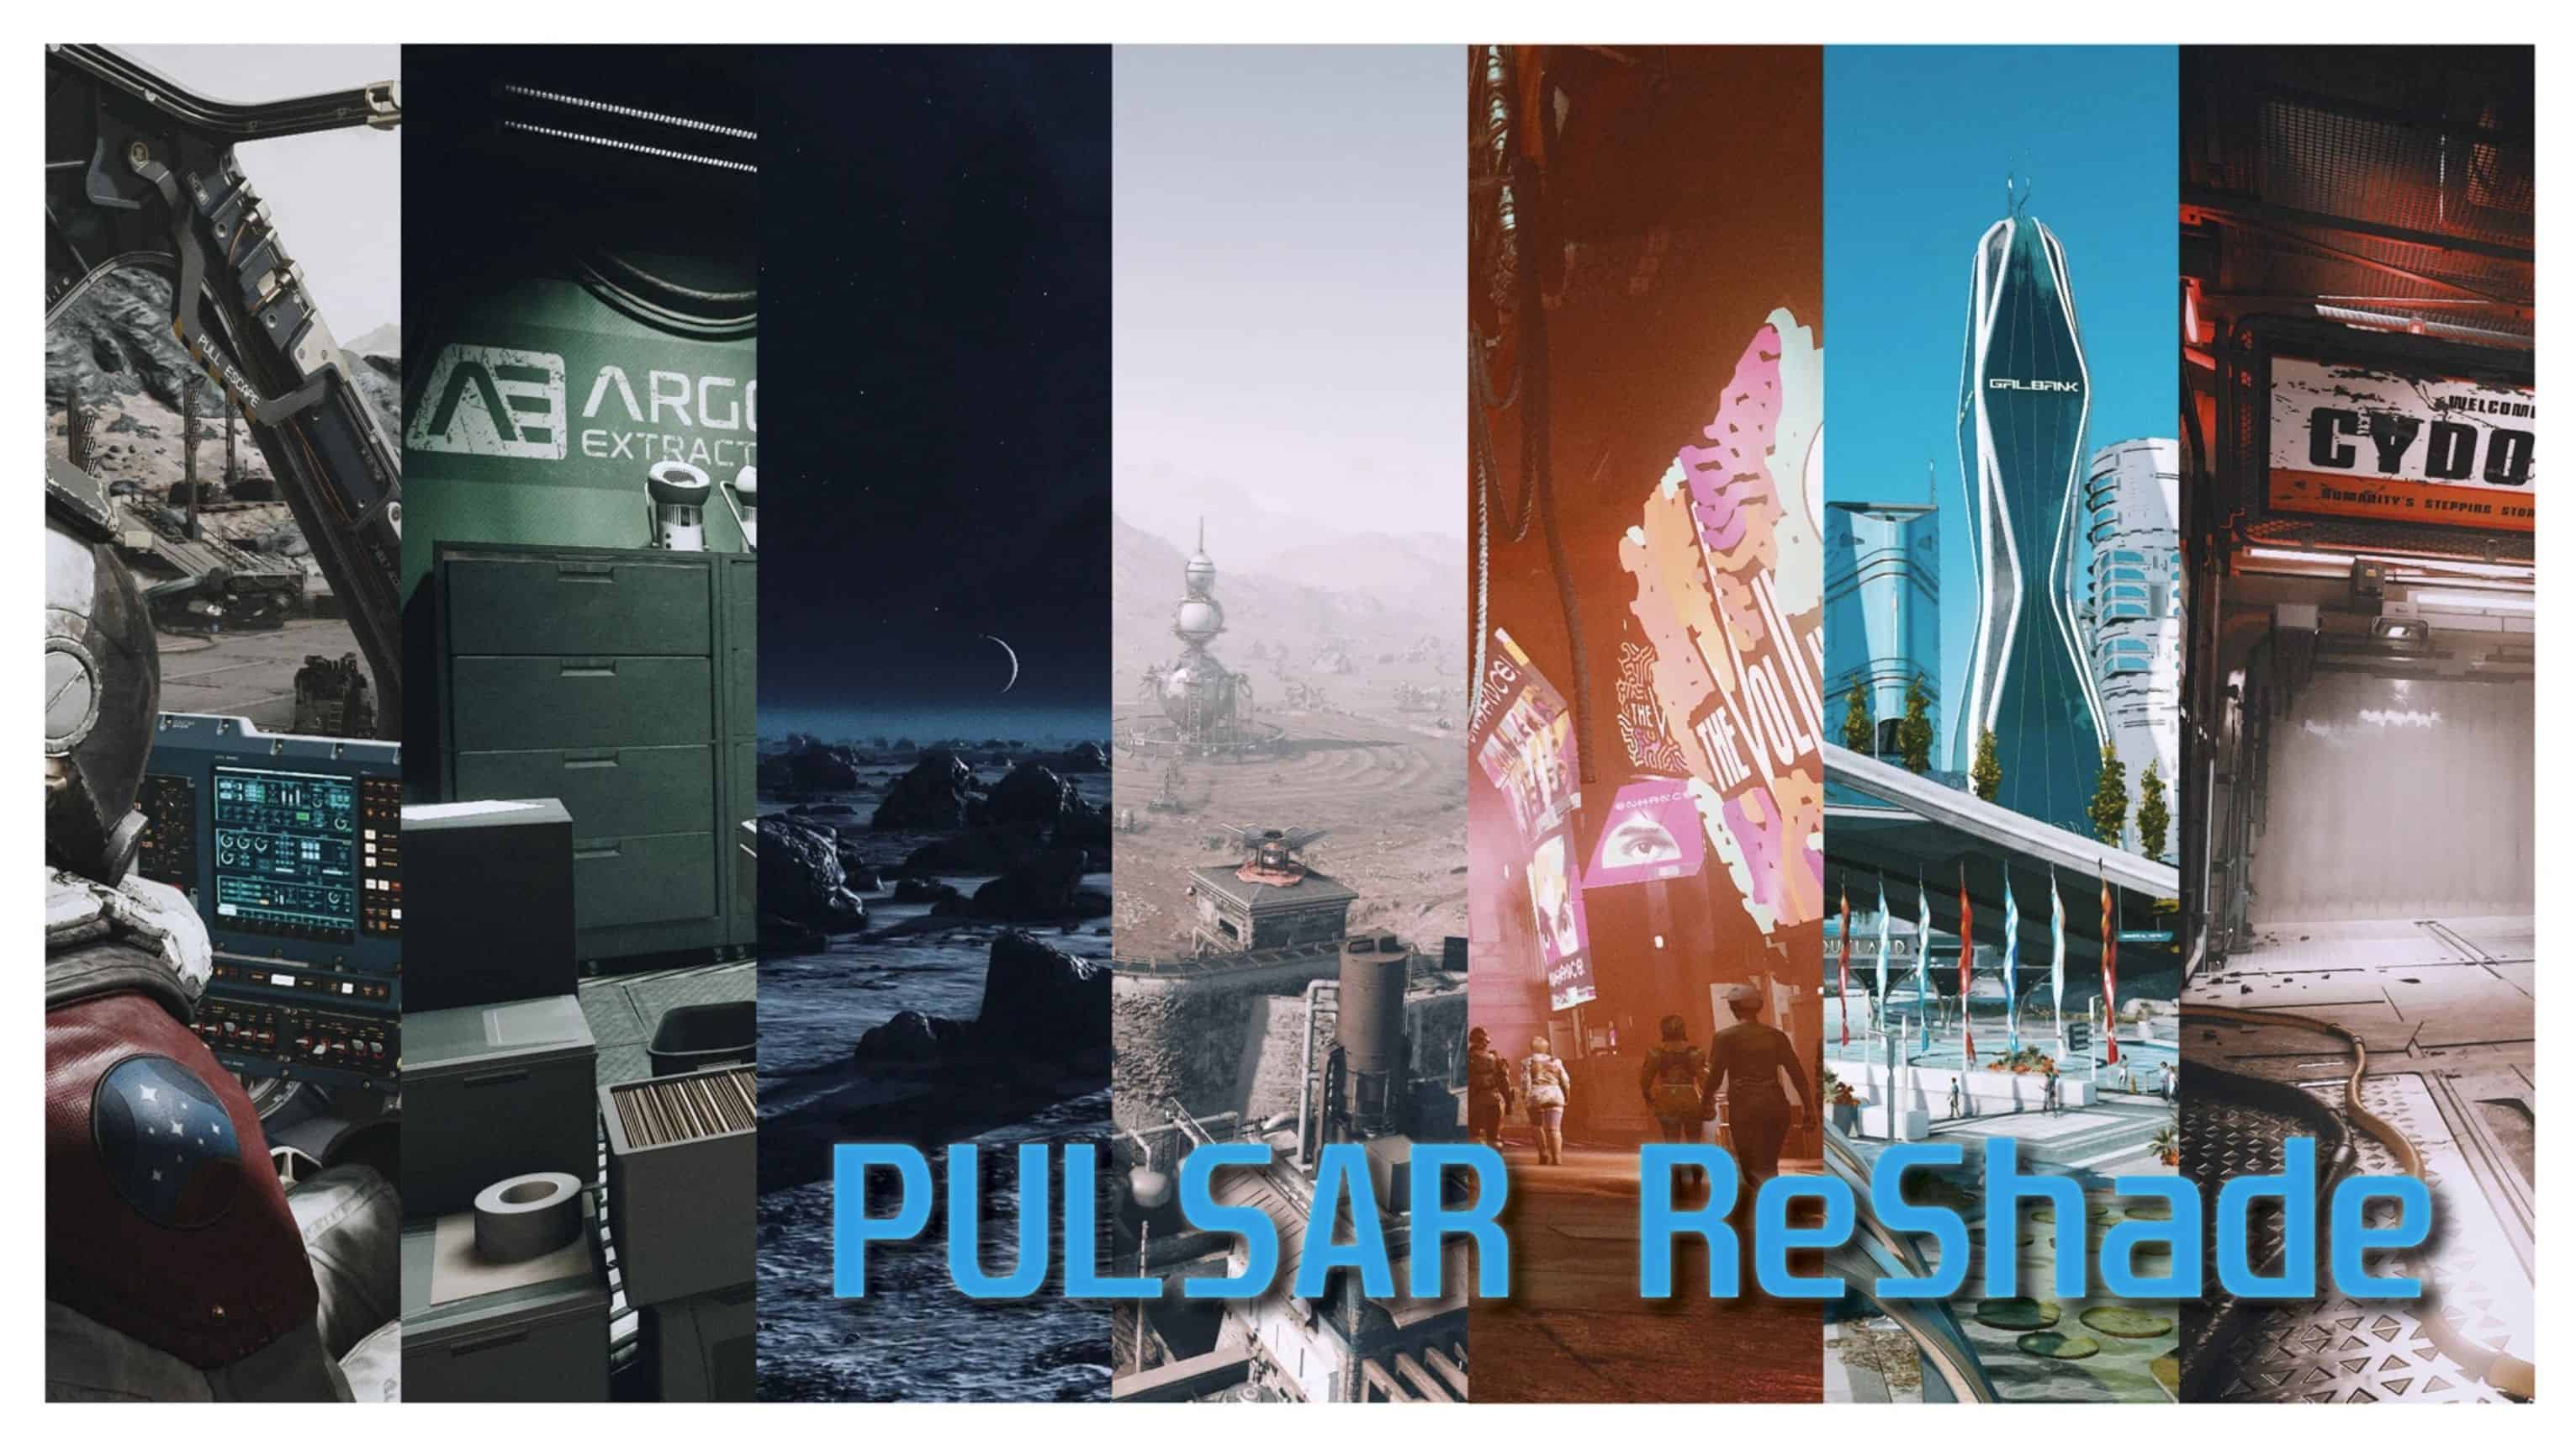
Pulsar ReShade aims to create realistic lighting conditions and cinematic visuals fitting the NASApunk design of Starfield.
Download Reshade: https://reshade.me/#download
Install ReShade & Preset:
– After downloading PULSAR ReShade you can copy “pulsar-reshade.ini” to your Starfield folder. (e.g. \SteamLibrary\steamapps\common\Starfield)
– Download ReShade installer and execute it. Download Reshade
– Select Starfield game executable “starfield.exe” from your installation folder.
– Microsoft Store or Gamepass users must select “gamelaunchhelper.exe”
– Click on “Direct3D 10/11/12” button (it’s already selected so press next)
– Select PULSAR ReShade INI File for installation and press next
– All necessary shader packages should be pre-selected – just continue
– (Standard effects, SweetFX by CeeJay.dk, Color effects by prod80, Legacy Effects)
– Start the game and open ReShade Overlay by pressing “HOME” / “POS1” Key
– You can follow the integrated tutorial and may change the hotkeys.
– You can toggle the preset on and off with “END” Key
– Check if PULSAR ReShade preset is selected – if not just locate it with the file browser and apply
TROUBLESHOOTING
This presets adds CAS sharpening. You can deactivate it with the overlay if your image is oversharpened. Keep in mind that FSR2 adds an additional sharpening filter. The noise in the images is vanilla with ReShade CAS (NO FSR sharpening)
FUTURE PLANS
color adjustments (reds)
maybe adding an alternate version with lens effects and vignette
check/rework noise levels with CAS


