
StarUI HUD
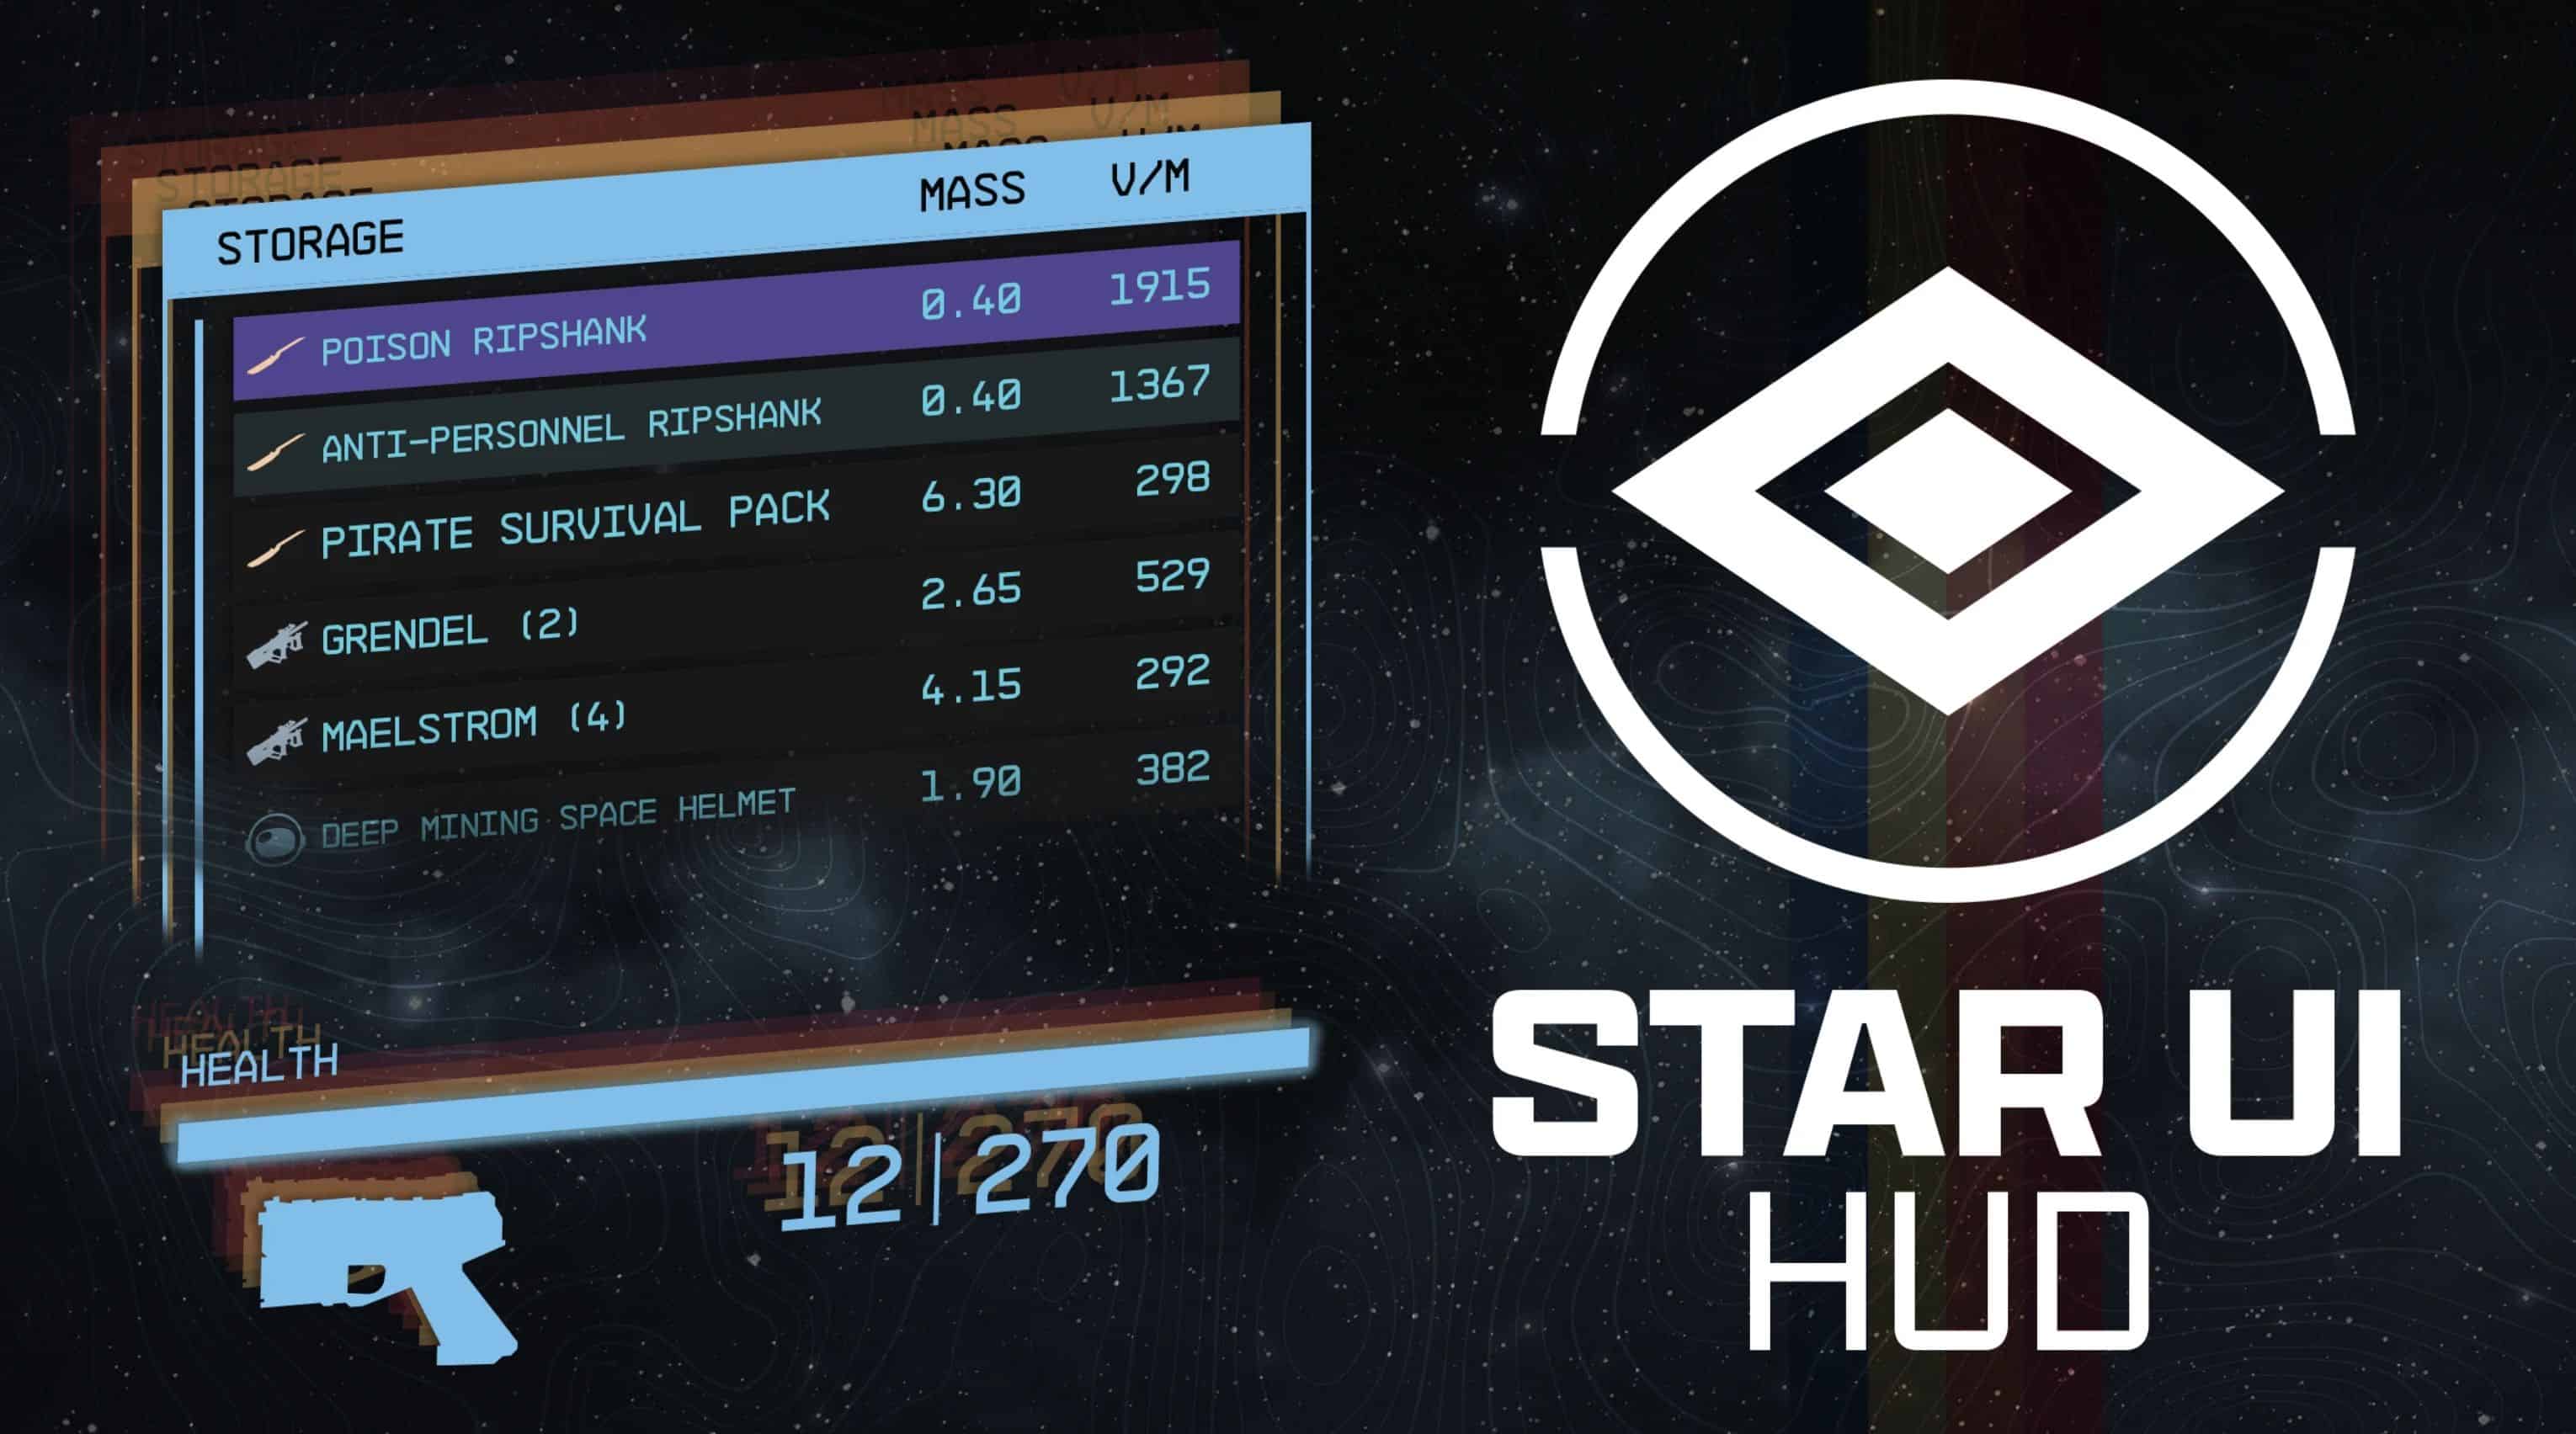
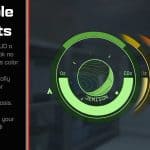
StarUI HUD gives you full control over most HUD widgets and provides an updated loot list and better item cards with DPS and V/W. Resize, move, recolour or disable most of the HUD widgets. The loot list can show additional columns like V/W (sort-able) and show you the item card for hovered items!
Features
– Change most widgets on the HUD to your liking:
— Change the position
— Change the scale (size)
— Change the rotation
— Change the color (color modifier or color overwrite available)
— Hide it, if you don’t want to see it!
— And for the special watch and player status widget: Adjust the 3D Position (only for 3D experts) or simply deactivate the 3D effect.
– New widget: Tag Label
— Reduces the HUD’s clutter level and let you focus on the important things.
— Displays the item name and item tag icon below your cross-hair. So you see what an item is without the need to look at the big item card (which is moved to top right screen as you don’t really need it)
— For tagged, stolen or contraband items the appropriate icon will be added after the name
— Trash items are displayed slightly faded out, so those item draw even less attention
— Can be disabled if you don’t like it
– New widget: Loot-O-Meter
— Displays a bar below your cross-hair which fills up with the value per mass value of the item. So you can easily see what’s worth to be taken!
— The bar can change the color from red to orange to green based on how much its filled
— Completely customizable
— Can be disabled if you don’t like it
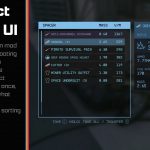
– Upgraded loot list (quick container view)
— Dynamic size, more items visible (or less if you like)
— Automatic height adaption based on content
— Item tag icons for every item – See easily what type the item is!
— Additional configurable columns (Default adds a V/M column). The list can also be sorted by the column (And you can toggle through the columns it in-game with ALT key)
— Shows an item card for the highlighted item
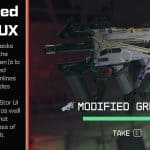
– Upgraded item cards
— Added item tag icon
— Added value V/M for all items with value and mass
— Added value DPS for weapon (Burst-DPS, reloading-time not accounted)
— Colorizable, relocatable and resizable: All item cards can be adjusted for every situations where they are visible
– Quality of Life
— Accidental Steal Protection – Changes the button for taking, so you need to hold E to actually steal the item.
— Loot list and Tag Label widgets will change to RED when taking would be stealing.
— Take All function for most containers – Press and hold R to take all (when the R HOLD button is visible)
– Three presets you can choose: Author’s Choice, Vanilla Extended and Vanilla. You can change that at any time and customize your choosen one as you like!
– Safe to install/remove at any time! Doesn’t affect your save game and won’t prevent your abiliity to get achievements!
– Integrated item sorting system for all Starfield items for the languages: EN, DE, ES, FR, IT, JA, PL, PTBR and ZHHANS.
– You can control when the reticle circle and line are visible individually for different situations (the leader line going from the looked item to the item card/name box)
– Reduce the button bars icon for key/controller button and slightly fade out the button bar
– Shows a big door icon on doors which leads to other areas (e.g. the ones that trigger a loading screen)
– Full translation support (See the translation section on this side if your translation is already available)
– Many other smaller or bigger improvements
– Completely customizable (see the well-documented INI file)
Installation
– Enable Archive Invalidation (INI settings)
— Easiest way: Use BethINI to comfortably set the value (called Load Loose Files in the GUI)
— Or: See this detailed Howto: Archive Invalidation to set the INI values with Windows tools.
– Install mod files
— Simply install the mod via your mod manager (Mod Organizer 2 beta, …)
— Or: Alternate manual install: Copy the folder Interface\ from the zip into your Starfield\Data\ folder (where the ba2 files are) – ignore folders fomod\ and Optional\
— For some people that folder won’t work, copy the files to your Documents\My Games\Starfield\Data\ folder in that case (create the Data\ folder if it doesn’t exist there yet)
— To install the 30fps or 120fps version: After doing the above steps copy the files from the appropriate sub-folder in Optional\ and overwrite the existing ones.
Configuration
You can customize every aspect of this mod. See the well-documented INI file StarUI HUD (default).ini and adapt it to your liking!
The mod comes with three presets: Author’s Choice, Vanilla Extended and Extended. You can change the presets any time, they will be copied to the folder Interface\StarUI HUD Presets.

