
StarUI Outpost
Improves the outpost interface for PC. Add a comfortable build menu with separate lists for category, building and variation (and you only need 4 keys instead of 8 to navigate) . Changes the key bindings to be like most other interfaces. Adds a inspect label and button hints at the cursor. And many other quality-of-life additions.
Features
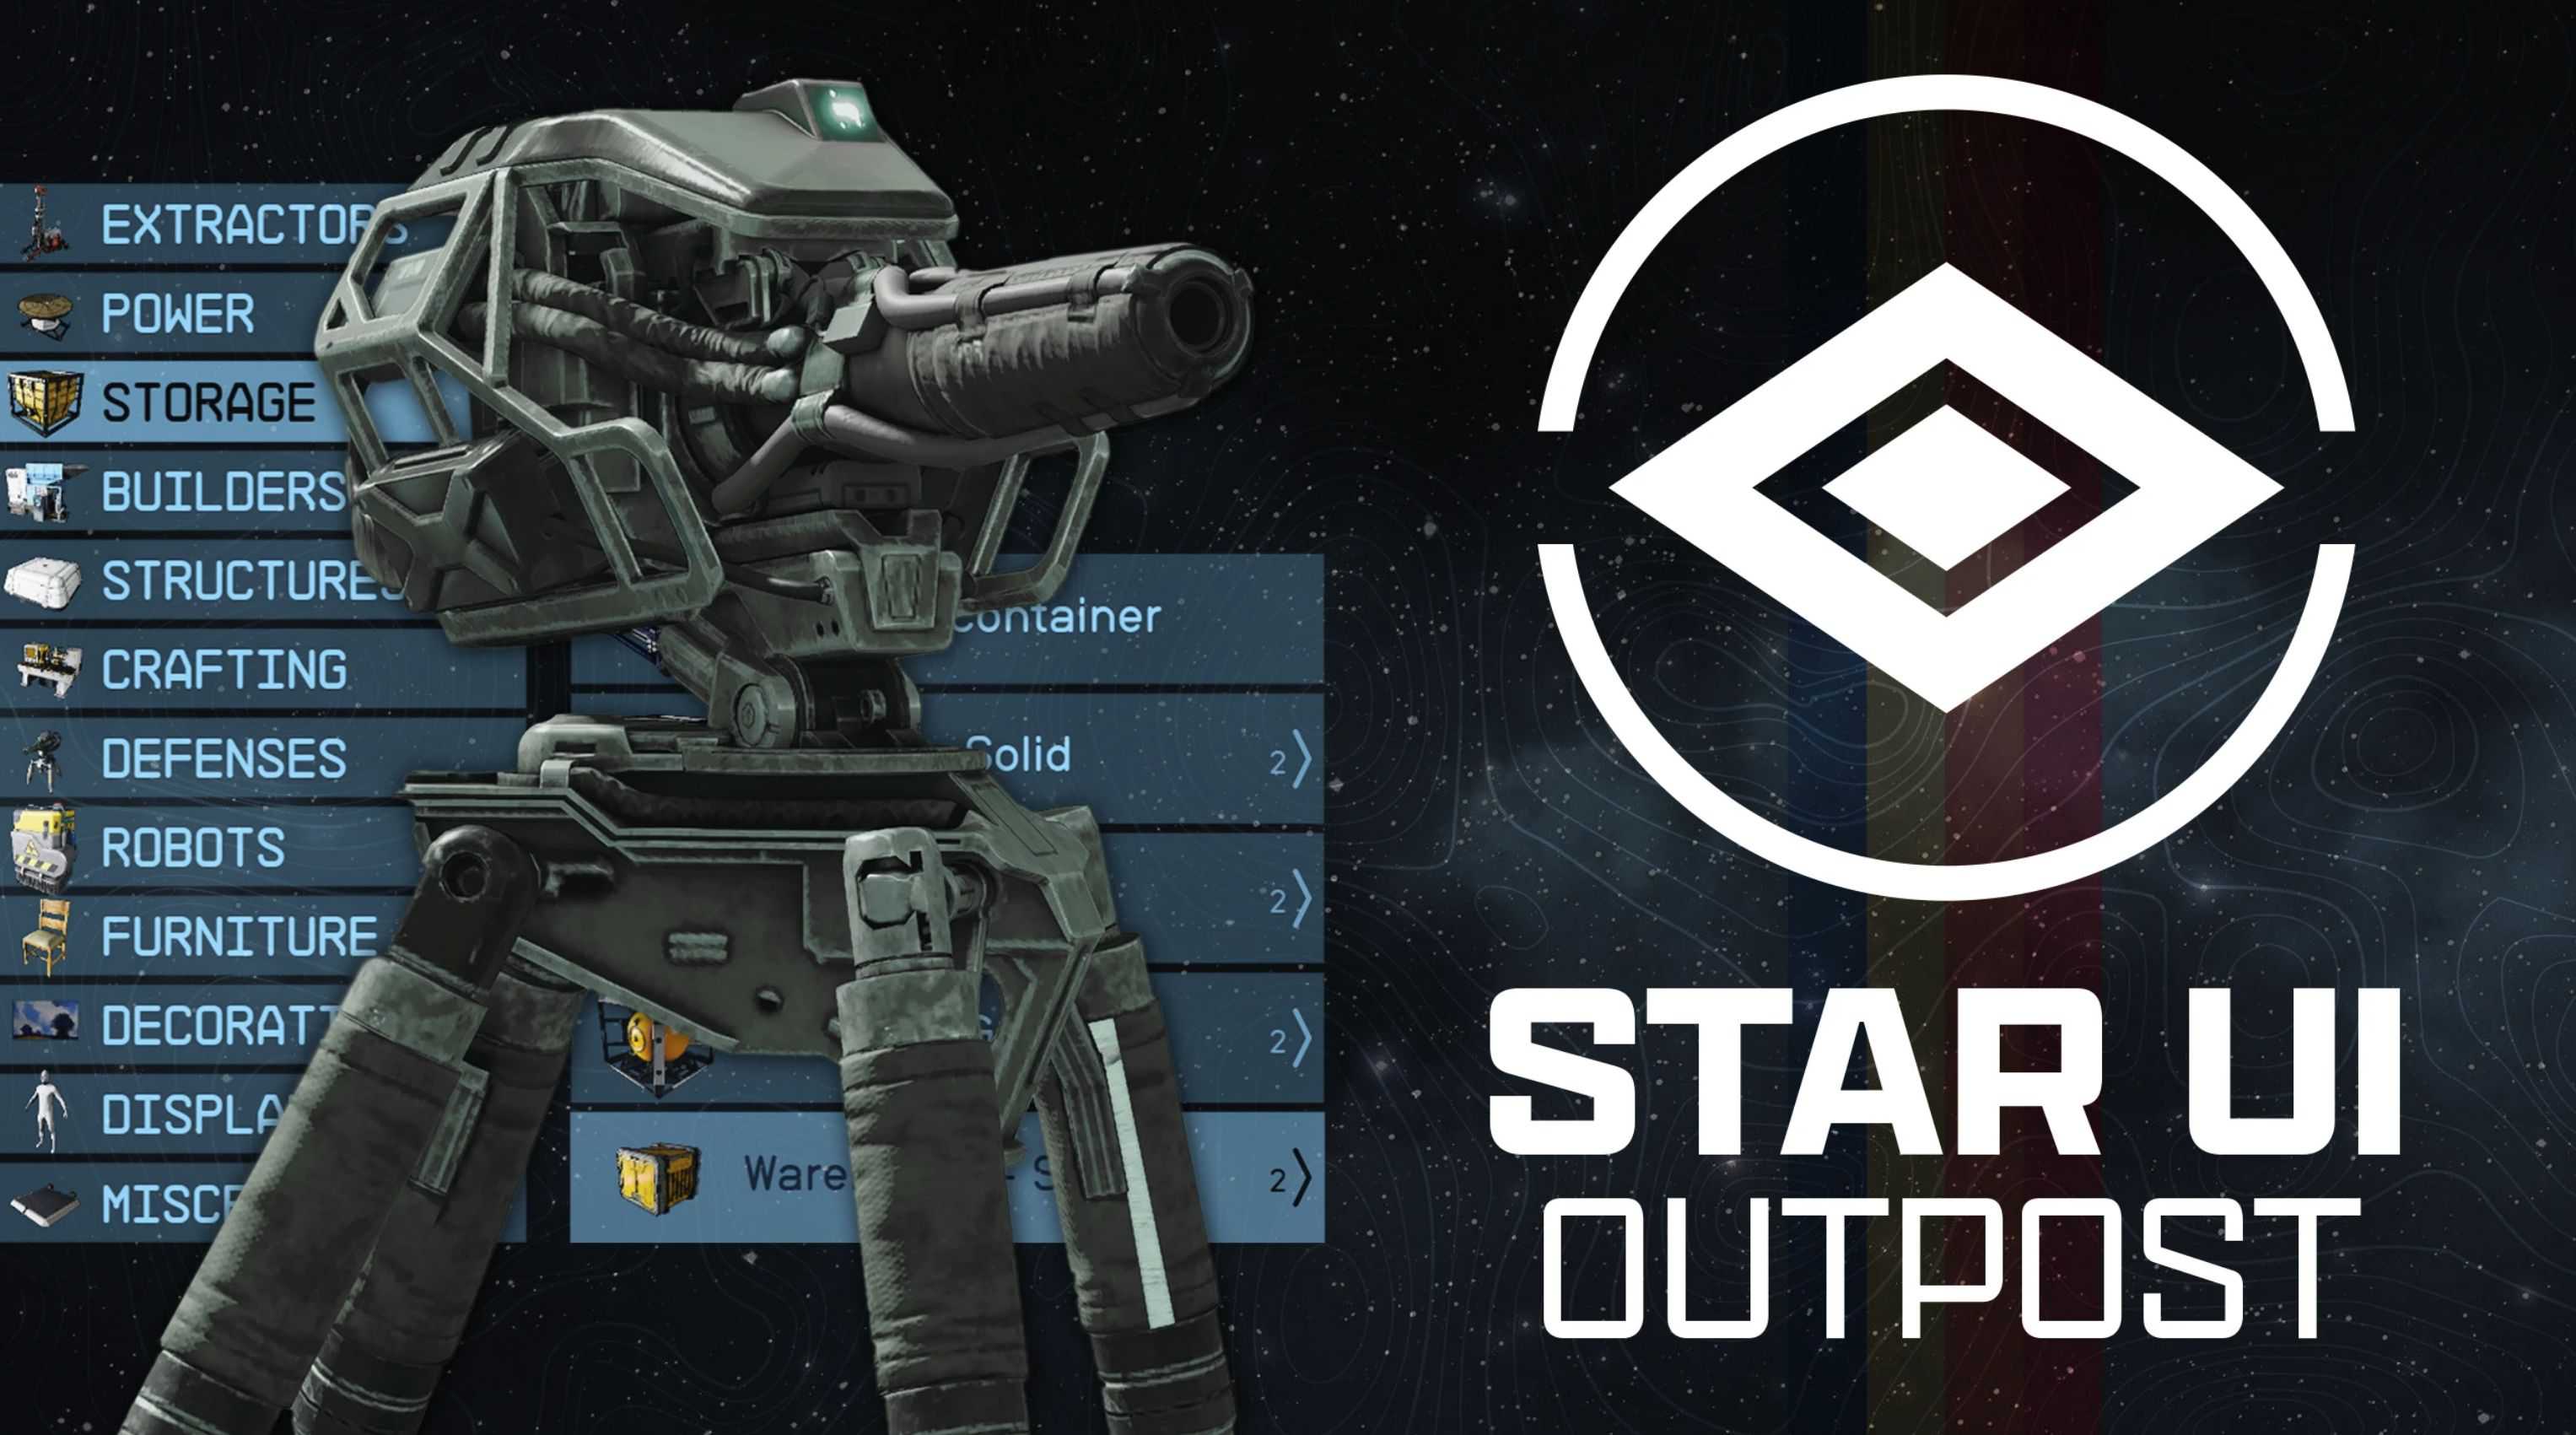
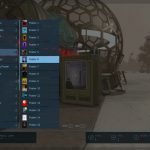
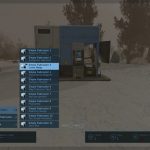
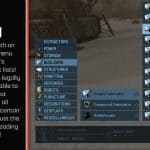
– Much better improved build menu with separate lists for categories, buildings and variants
— You no longer need 8 keys for the build menu navigation – 4 keys are enough
— Shows the produced item as subtitle for fabricators
— View all variants in a easy navigable list
— Smarter variant naming – e.g. “Extractor – Iron – Commercial” is shown as “Commercial” in the variant lists
— Numbered naming for equal named items – e.g. “Poster 1”, “Poster 2” instead of “Poster” for all
– Changed the basic ui key handling, so it’s like other interfaces – e.g. TAB is now back/exit and change mode is now “Q” or “Left Shoulder”
– Added comfort keys to several interfaces – You can use Mouse1 instead of only E for choosing an item from the action cards, like wiring. And in wire mode you can press Mouse1 where it was only E previously.
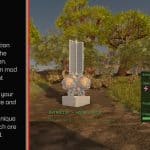
– New inspect label – Shows what you are viewing at directly under the crosshair
– New crosshair buttons – See what you can do directly under the crosshair
– Different colors for build and inspect mod – Now you see in which mode you are!
– Allows full adjustment of every widget. Control the color, size, position individual for every widget. And you can hide it if you don’t like it
– Option to disable the open/close animation
– Available in 30, 60 and 120fps
– Comes with three pre-defined presets: Author’s Choice, Author’s Choice (default color) and Vanilla Extended
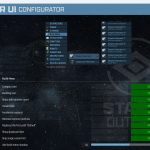
– Completely customizable – Comes with an StarUI Configurator profile, so you can easily adjust your outpost interface
– Multilanguage – Supports all languages out of the box
Installation
– Enable Archive Invalidation (INI settings)
— Easiest way: Use BethINI to comfortably set the value (called Load Loose Files in the GUI)
– Install mod files
— Simply install the mod via your mod manager (Vortex, Mod Organizer 2 beta, …)
— Or: Alternate manual install: Copy the folder Interface\ from the zip into your Starfield\Data\ folder (where the ba2 files are) – ignore folders fomod\ and Optional\
— For some people that folder won’t work, copy the files to your Documents\My Games\Starfield\Data\ folder in that case (create the Data\ folder if it doesn’t exist there yet)
— Choose one of the three presets from the sub-folder StarUI Outpost Presets\ and copy the INI file content into a new file StarUI Outpost.ini in Interface\.
— To install the 30fps or 120fps version: After doing the above steps copy the files from the appropriate sub-folder in Optional\ and overwrite the existing ones.
Configuration and Presets
Use the StarUI Configurator to configure any setting in this mod with an easy to use graphical interface.
Or see the well-documented INI file StarUI Outpost (default).ini and adapt it to your liking!
Tips
– You can switch later to another preset at any time. The presets are copied to folder Interface\StarUI Outpost Presets. Simply copy the INIs content to your StarUI Outpost (default).ini
– Copy the file StarUI Outpost (default).ini and rename it to StarUI Outpost.ini. This INI file will be read too and won’t be overwritten by mod updates!
– When you editing settings: A simple close/open of the outpost interface will load your changed configuration!
Known limitations
– The mouse can’t be utilized in the interface, cause the game engine completely blocks it.
– While selecting a building the 3D item in the background is visible. Sadly the engine doesn’t allow to disable it in build mode.
– They key bindings for outpost are really weird. Change the vanilla key binds with care and use the vanilla key settings for the best experience.

